
How to fix the boards of your industrial shelf
Here is a question that frequently arises when embarking on an industrial-type interior design project. We will try to answer this question right here and the mission is not as easy as one might think. In fact, there are many ways to fix a wooden board to a cast iron pipe shelf. The construction of a shelf, whether it is in plumbing fittings or in metal pipes, is not insignificant, so here is why we present to you this tutorial type page embellished with a maximum of supporting photos, so as to help you as simcores as possible to understand the different ways to attach a board to a metal pipe wall shelf. Please note, this help page for the realization of your industrial fitting shelf does not need to be followed to the letter, its purpose is to present to you the different possibilities of fixing a board on metal pipes.
Here are the 5 ways to fix a board that we have decided to present to you - Fixing using a floor flange and:
- sleeve fittings (female/reduced male)
- sleeve fittings (female/reduced male) to make adjustable feet
- cast iron elbow fittings (Male/female 90)
- Cast Iron Equal Tee Fittings (Female)
- flange connections only
1/ reduced female/male sleeve
1.1 The first step is to drill your plank at the desired places using a special wood drill bit. Take a wick with a diameter 1mm greater than the diameter of the fitting. In our example we used a 28mm wood bit for a 27mm connection (20x27) and 18mm thick boards.


1.2 Once the hole has been drilled, screw in a floor flange.

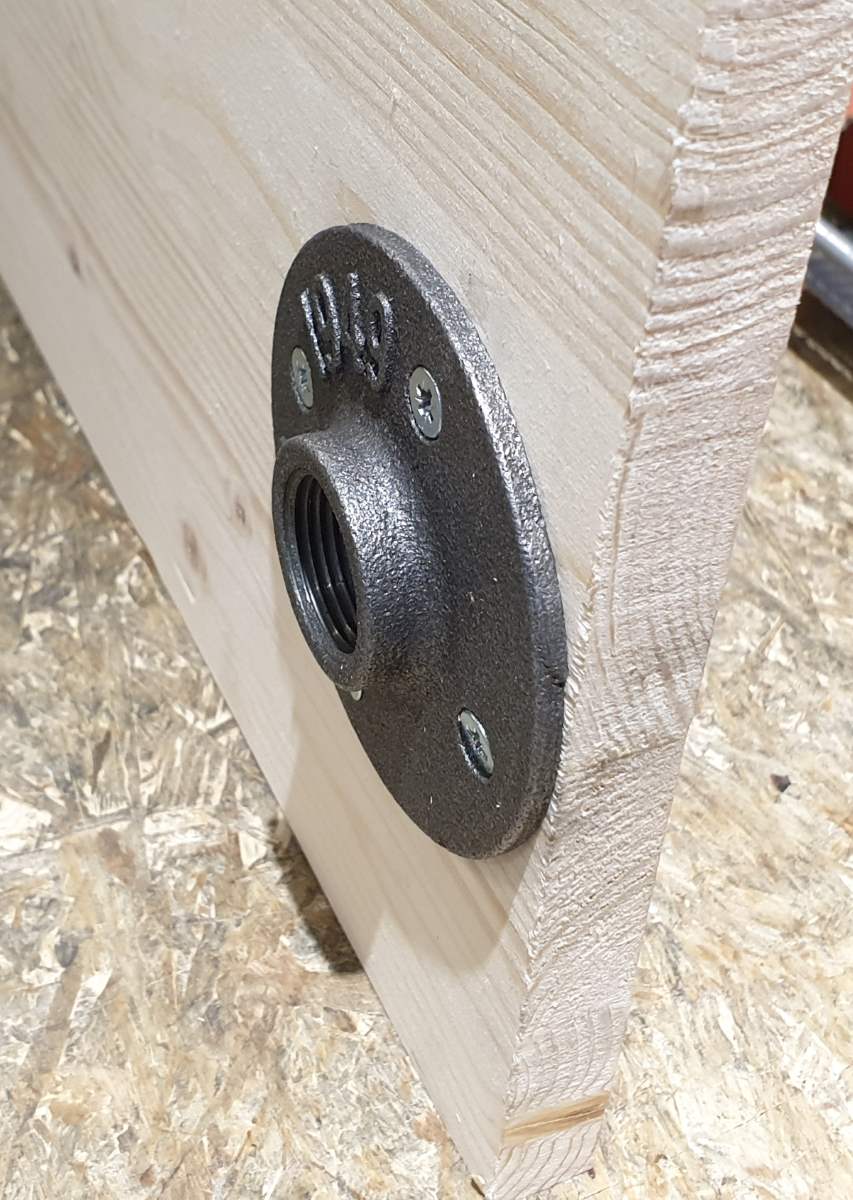
1.3 Proceed with assembly, for example screwing a pipe into the flange.


1.4 Then at the other end of the pipe screw a female sleeve to hold the other board.
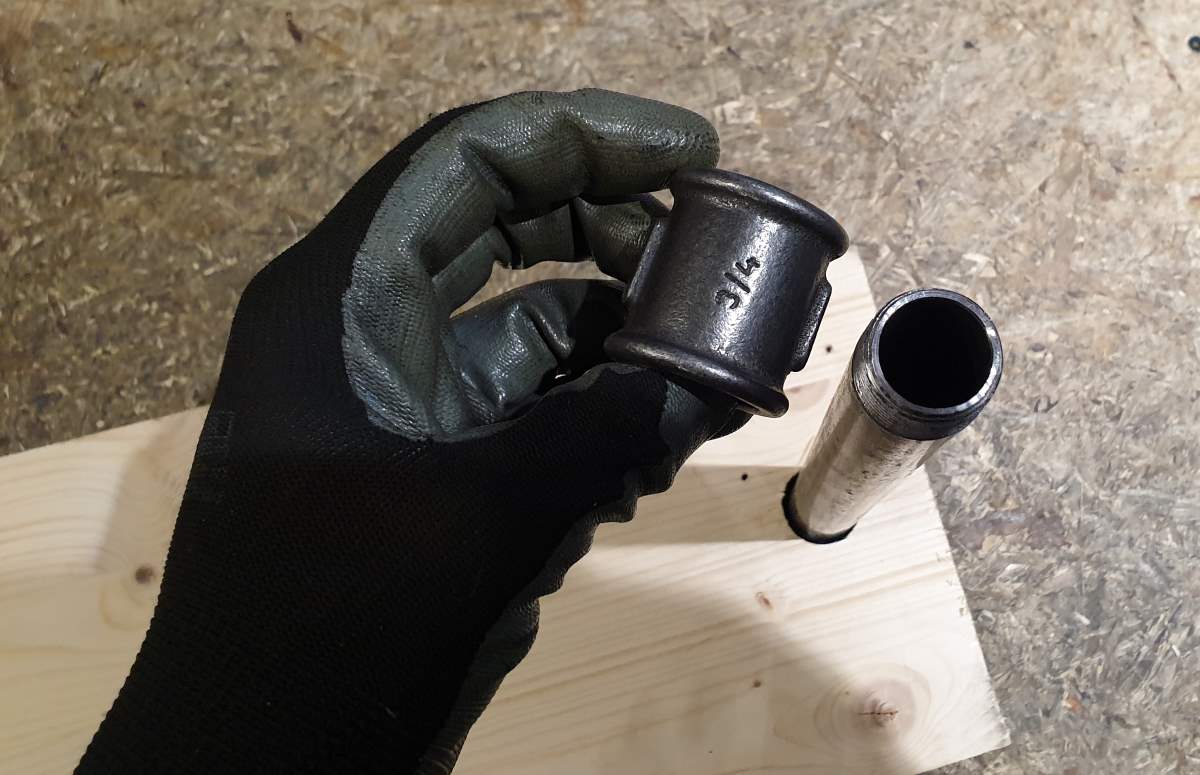

1.4 Now screw the Male/Female connector into the Female sleeve.


Your boards are fixed. This is a simple example of fixing with plumbing fittings and floor plates. Then it's up to you to let your imagination do the rest. Another example below with the same technique but to make legs for shelves or furniture legs.
2/ Fix board and make adjustable feet
2.1 Drill your boards at the desired location where your feet will be placed, here we provide 4 feet in plumbing fittings (reduced sleeve).

2.2 Your necessary equipment

2.3 Proceed as in step 1 then screw your Female reducer into your reduced female/male sleeve.
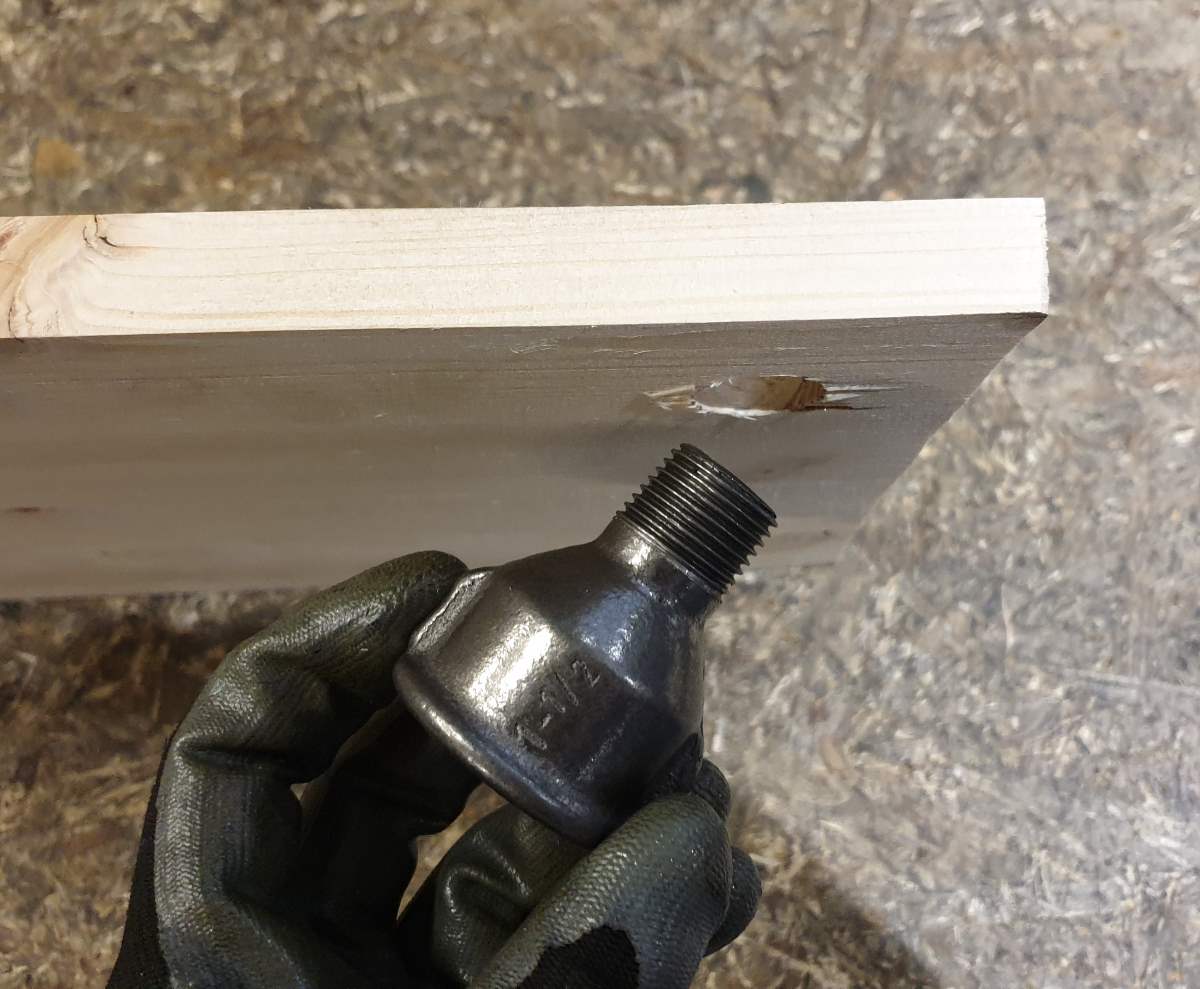
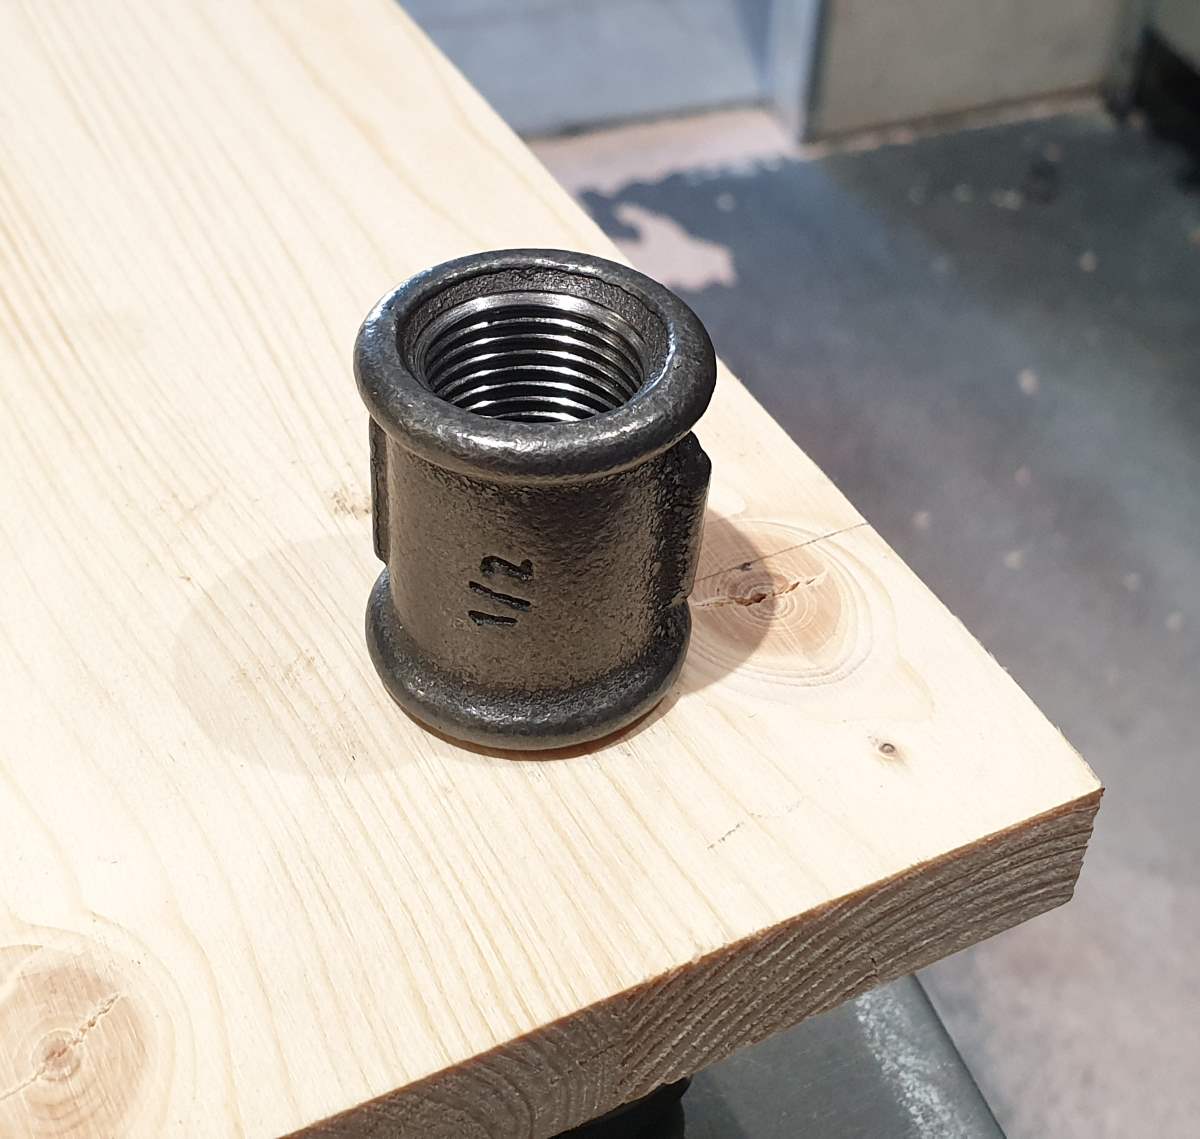

2.4 Your wall shelf is assembled and your adjustable feet are attached.
3/ Cast iron elbow (Male/female 90)

3.1 In this example we will fix an industrial tubular shelf to the wall with steel flanges, black steel pipes and male/female elbows. We use x6 flanges (floor plate), x2 elbows 90 MF, 2 pipes 30cm and 2 pipes 12cm. The size is 3/4" (20x27) but it doesn't matter. First, refer to the beginning of step 1 and follow the tutorial until step
1.3, then at the end of your pipes add the floor flanges.

3.2 Now let's add our 2nd wooden board and screw it to the flanges. This will be the bottom board of our shelf.

3.3 Let's turn our shelf right side up and add the 90 MF pipes and elbows to it in order to fix it to the wall with the 2 remaining brackets.

That's it, all you have to do is screw on the brackets to fix the shelf to the wall!

4/ Equal cast iron tee (Female)
4.1 With this example, we use the principle of the step above but replace the fixing of the elbow with the female cast iron tee. We also need 2 pipes and 2 female caps. This way of proceeding allows more possibilities on the fixings of our wall shelf. In our case, refer to the beginning of step 1 and follow the tutorial until step 1.3, then at the end of your pipes add the Tees.

4.2 Now let's add the small threaded steel pipes to the Tees. If you need long threaded steel pipes, the principle remains the same of course, this tutorial is for example, it is mainly there to give you inspiration.


4.3 Add the top board and the floor flanges that will be screwed to the wall.

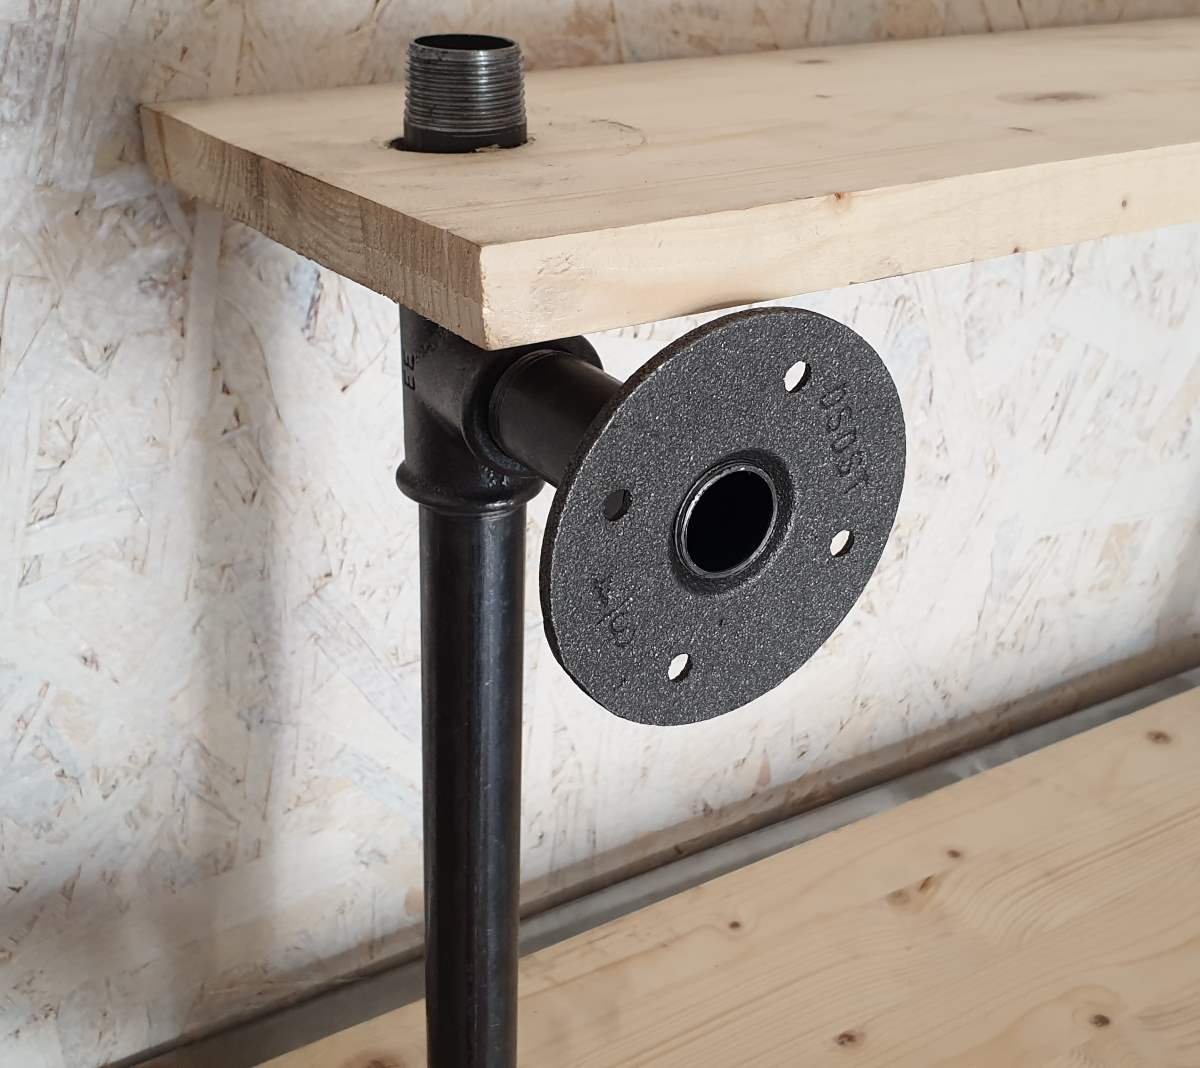
4.4 To complete the assembly of the tubular shelf, simcores screw the flanges to the wall as well as the female plugs on the steel pipes!

Here is the final result of your industrial style wall shelf.


5/ Floor flanges
5.1 Let's finish this tutorial with the last way to fix our wall shelf, we chose the floor flanges. Certainly the easiest way to set up to assemble our wooden planks with our cast iron fittings or at least our black or even galvanized steel pipes.

5.2 Let's make it simple, just calculate the precise place where to place the flanges and first simcores fix them on our bottom board.


5.3 Repeat the operation on all the boards of the shelf and on each side of course. Here we will of course have varnished our board before screwing the plates.


5.4 All that remains is to assemble our boards with the steel pipes and then fix the shelf with our cast iron fittings.

Here is our tubular industrial wall shelf is fixed to the wall and very solidly!
Conclusion
Of course, it is quite complex to reproduce the information of this small tutorial directly on your project, the objective being to feed your imagination, know now that you will find all the material necessary for the realization of your DIY projects - HERE on our site (industrial style) and we are at your disposal for any information you may need. Please also note to read the product sheets carefully, there is a lot of useful information for setting up your constructions. Thank you for taking the time to read our explanatory page on (how to fix the boards of an industrial wall shelf).
